The Butler need to be used with an UART reader, i've used CK3i by TX but you could use the CK3 Pro or any simple UART. We've also tried by using the Maximus Lizard but it didnt work, we will try to fix this issue as soon as possible.
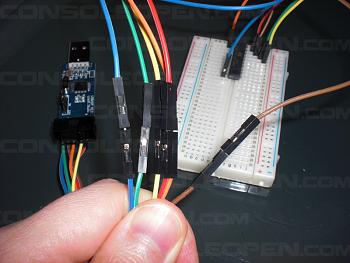
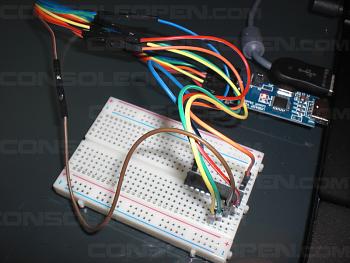
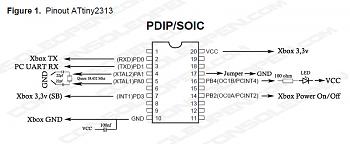
Now we need to connect both GND and RX to our Butler, and later we connect the UART to the PC
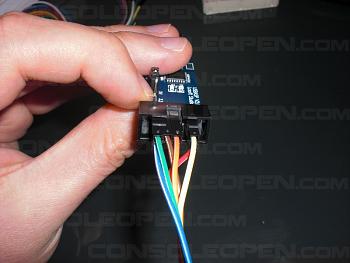
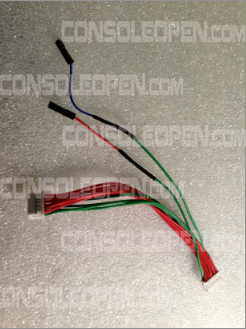
As you can see i've used a simple CK stock cable modded with 2 wires (RX and GND) that goes to the Butler pinheaders
Lets now check what COM port was assigned to our UART.
Now before using the Java GUI (made by sk1m0), there are a few things we need to set up. First of all install both Java JRE and Java JDK (x86 or x64, depends by your system).
Now extract the archive named "ch-rxtx-2.2-20081207-win-x86.zip" and copy all the files inside java directories by following this scheme:
- rxtxSerial.dll --> C:\Program Files (x86)\Java\jdk*\jre\bin
- rxtxSerial.dll --> C:\Program Files (x86)\Java\jre*\bin
- rxtxParallel.dll --> C:\Program Files (x86)\Java\jdk*\jre\bin
- rxtxParallel.dll --> C:\Program Files (x86)\Java\jre*\bin
- RXTXcomm.jar --> C:\Program Files (x86)\Java\jdk*\jre\lib\ext
- RXTXcomm.jar --> C:\Program Files (x86)\Java\jre*\lib\ext
NB: "*" is the Java version you have installed.
Now lets open "GUI JAVA" (from RGH-Butler's archive) and connect both the Xbox360 Power supply and the cable from UART to BUTLER.
If everything worked well you should be able to see the UART COM PORT, select it and click "OPEN PORT"
We are now ready to use the butler

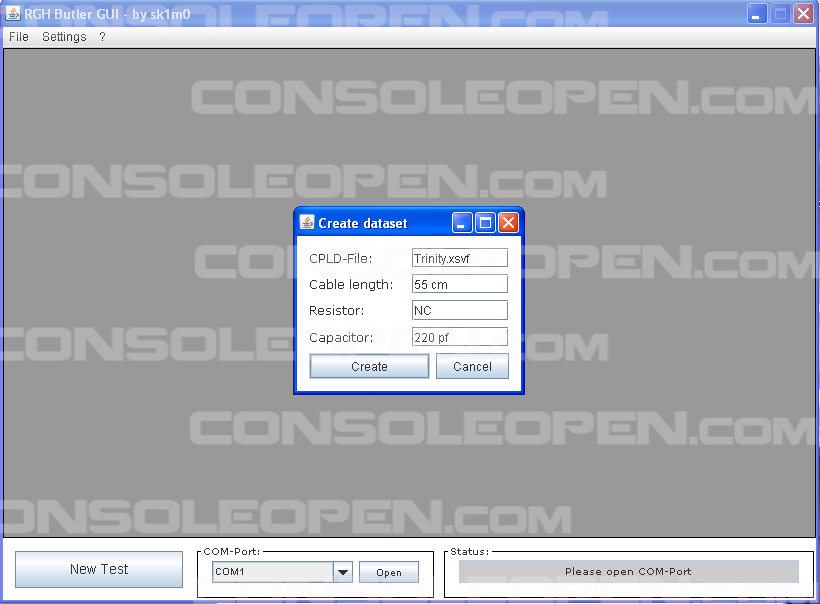
Click on "NEWTEST"
Compile all the fields with your installation details:
- CPLD FILE: The bitstream you've used
- Cable lenght: CPU-RESET Cable Lenght
- Resistor: Resistors FIX we have applied
- Capacitor: Capacitors FIX we have applied
Now click on "CREATE" and the program will make a new dataset with your custom information, now just turn the console on and wait till the butler completes his job.
NB: Turn the console on ONLY after the Butler's Led is ON.
After the first manual power-up the butler works like this:
- Boot after X glitch cycles
- Shutdown
- Wait 5 seconds
- Automatically power-up
- Repeats the previous steps for8 times if the J2 is OPEN, viceversa if J2 jump is CLOSED the steps will be repeated for 20 times.
If the console boot takes over 4 minutes (
240 seconds) it will be automatically turned off and on to continue the process. If the same thing happens for 3 times than the test will be over.
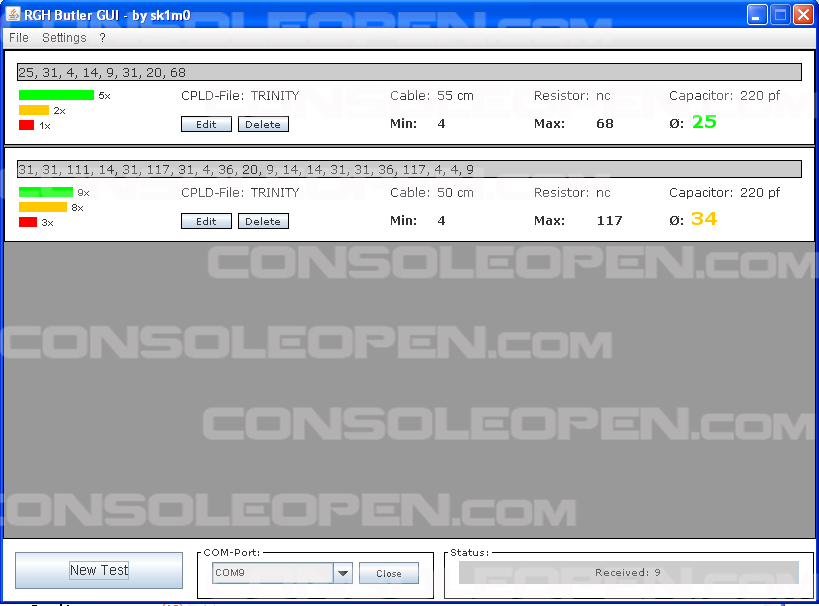
Here it is a screen made with a Slim Trinity, i've tried both 8 and 20 cycles, changing cpureset lenght from 50 to 55cm
Nel programma inoltre possiamo salvare l'intero
LOG in file
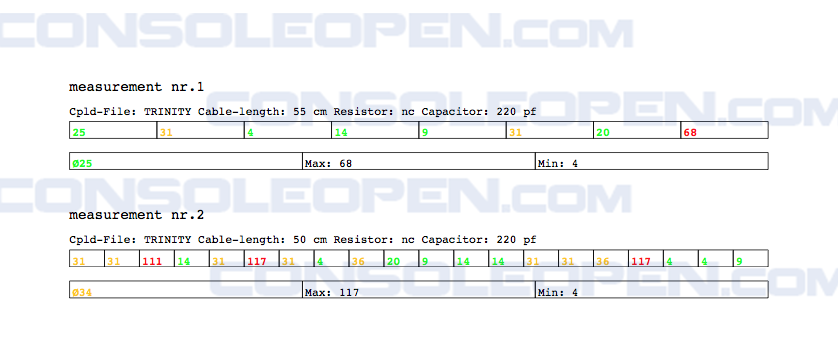
BUT che poi possono essere ricaricati in futuro nel programma, se questo non bastasse c'è anche una funzione che esporta tutto il contenuto in un PDF formattato ad-hoc!
The program also offer you many other interesting features, for example you could export the result into a LOG files (that can also be imported lately), or even to export the result into a PDF file
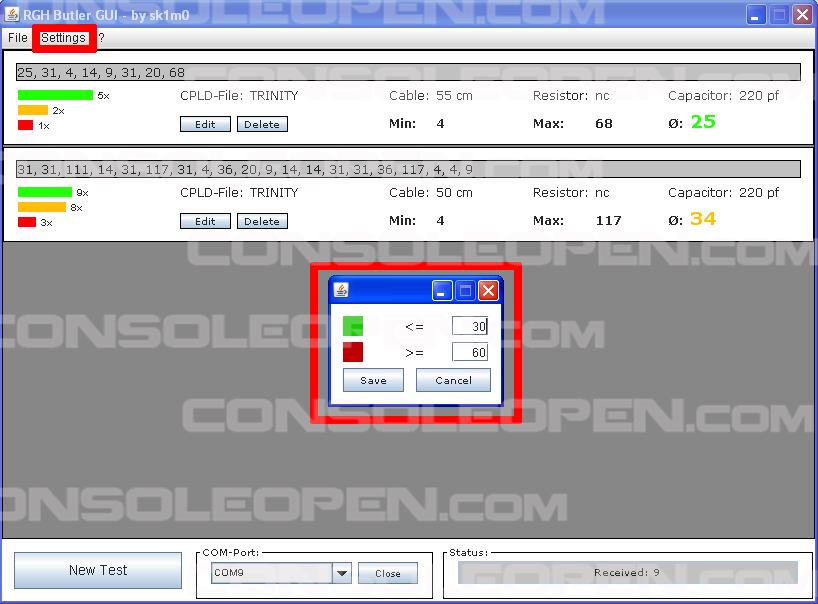
Here it is a screen for the setup form where you can customize many other features.
It's done, hope you have enjoyed reading it, Happy Hacking


 2Likes
 LinkBack URL
 About LinkBacks









 Rispondi Citando


Segnalibri